Hey there, fellow fitness enthusiast. Picture this: It’s a chilly Saturday morning in early 2020, and I’m staring at my dusty garage, dreaming of turning it into a personal sanctuary where I could crank out deadlifts without my wife yelling about the noise echoing through the house. I was knee-deep in online searches, convinced that the right gym flooring would make or break my setup. Spoiler: It did. That project taught me more about sweat, swear words, and satisfaction than any workout ever could. If you’re here, you’re probably at that same crossroads—ready to build a space that fuels your fire, not frustrates it. Let’s walk through this together, step by sweaty step, so you can skip my rookie blunders and nail a floor that’ll last longer than your New Year’s resolutions.
Why Gym Flooring Matters More Than You Think
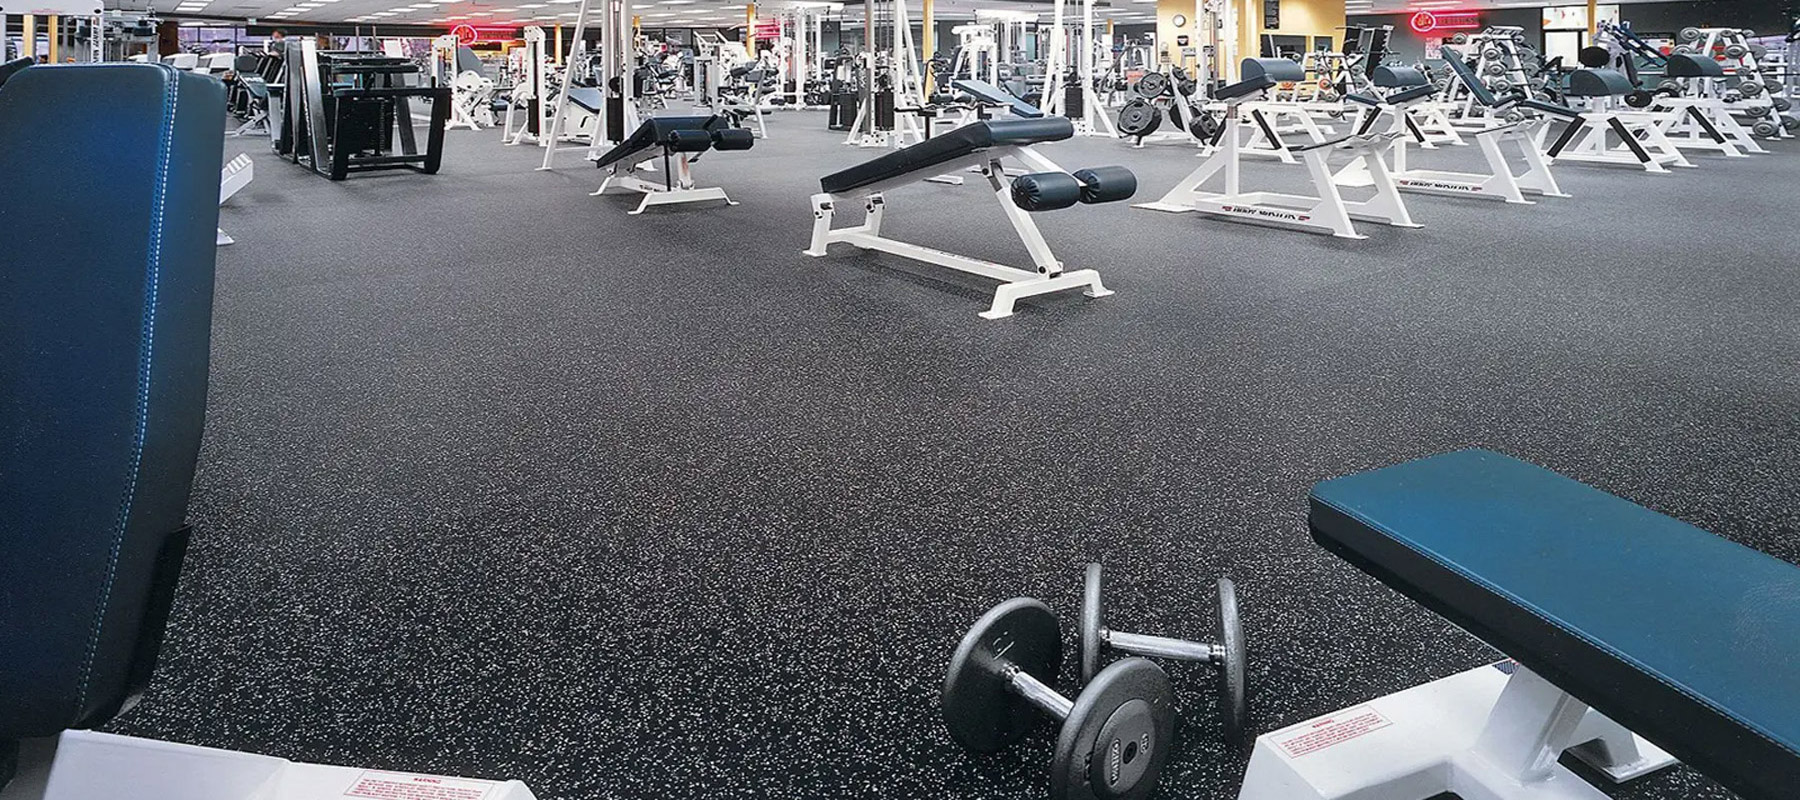
You might think flooring is just the boring base layer under your barbells, but trust me, it’s the unsung hero of any solid gym. The right surface doesn’t just protect your subfloor from dents; it cushions your joints during those brutal burpees, quiets the thud of dropped weights (saving your downstairs neighbors from revenge plots), and even boosts your motivation with a pro-level feel. I remember unrolling my first rubber mat—suddenly, my garage felt like a CrossFit box, not a storage dump. Get this wrong, though, and you’re looking at slips, squeaks, or a subfloor that looks like a war zone. In short, smart flooring turns chaos into confidence, letting you focus on PRs instead of pitfalls.
Understanding the Types of Gym Flooring
Diving into options feels overwhelming at first—like choosing between protein shakes—but once you break it down, it’s straightforward. Rubber dominates for good reason: It’s tough, versatile, and absorbs impact like a champ. Foam’s softer side shines for yoga flows, while vinyl brings that sleek, easy-clean vibe. Turf? Perfect for sled pushes without shredding your space. Each type suits different vibes, from garage grinds to home studios, so picking one is about matching your moves to the material.
Rubber Flooring: The Gold Standard for Heavy Hitters
Rubber’s my ride-or-die, and after that garage install, I get why pros swear by it. Made from recycled tires or virgin stuff, it bounces back from brutal drops while damping noise—key when my early-morning cleans nearly started a family feud. It’s grippy, odor-resistant (mostly), and lasts a decade with minimal fuss. Ideal for weightlifting zones, but layer it right to avoid that “rubber jungle” smell sneaking in.
Foam Mats: Cushy Comfort for Lighter Workouts
Ah, foam—think of it as the cozy cousin to rubber’s tough guy. These interlocking puzzles are a breeze to snap together, offering that plush give for bodyweight beasts or Pilates sessions. I tossed some under my yoga mat once, and it was like floating on clouds. Lightweight and budget-friendly, they’re stars for beginners or multi-use rooms, though they crumple under heavy iron.
Vinyl and Synthetic Options: Sleek and Low-Maintenance
Vinyl’s the polished pro, mimicking wood or stone without the splinters or upkeep. It’s waterproof, slip-resistant, and handles cardio machines like a dream—great if your gym doubles as a guest room. I eyed it for my basement reno but stuck with rubber for the thud factor. Synthetics like PVC add durability for high-traffic spots, blending style with substance.
Turf and Grass Alternatives: For Dynamic Drills
Turf brings outdoor grit indoors, mimicking fields for agility drills or sled work. Polyethylene blades stay soft for floor rolls, and it’s a breeze to hose down after muddy sessions. My buddy’s CrossFit corner thrives on it—no more grass stains on the Berber. Just vent it well to dodge that “pet store” whiff.
Comparing Popular Gym Flooring Materials
Choosing feels like picking a workout split—everyone’s got an opinion, but data doesn’t lie. Here’s a quick showdown to spotlight winners for your setup. Rubber edges out for all-around beasts, but foam wins on wallet-friendliness. Factor in your space: Basements love vinyl’s moisture shield, garages crave rubber’s grit.
| Material | Durability (1-10) | Shock Absorption | Cost per Sq Ft | Best For | Ease of Install |
|---|---|---|---|---|---|
| Rubber | 9 | Excellent | $2–$5 | Weightlifting, HIIT | Moderate |
| Foam | 6 | Good | $1–$3 | Yoga, Bodyweight | Easy |
| Vinyl | 8 | Fair | $3–$6 | Cardio, Multi-Use | Moderate |
| Turf | 7 | Good | $4–$7 | Agility, Functional | Easy |
This table’s your cheat sheet—scan it, then match to your routine. For me, rubber’s 9/10 durability sealed the deal after one too many kettlebell dings.
Pros and Cons of Top Choices
No option’s perfect; it’s about trade-offs. Rubber’s a tank but can feel firm on bare feet—pair it with socks for that “just right” vibe. Foam’s forgiving yet flimsy for free weights; think of it as training wheels. Vinyl shines in style but skimps on cushion—fine for ellipticals, not Olympic lifts. Turf’s fun for functional fits but traps sweat like a sauna. Weigh these, and you’ll land on a floor that fits like your favorite sneakers.
- Rubber Pros: Bombproof protection, noise reduction, eco-friendly options.
Cons: Initial off-gassing smell, heavier to haul. - Foam Pros: Super affordable, quick setup, joint-friendly.
Cons: Compresses over time, not drop-proof. - Vinyl Pros: Waterproof wonder, easy wipe-downs, aesthetic appeal.
Cons: Less shock absorbency, can tear under torque. - Turf Pros: Versatile for drills, low injury risk, vibrant look.
Cons: Needs infill maintenance, abrasive on skin.
Tools and Materials You’ll Need for Installation
Gearing up is half the fun—like prepping for a big lift. Grab a tape measure (my old one’s scarred from garage mishaps), utility knife for clean cuts, and double-sided tape or adhesive for grip. Don’t skimp on a level—uneven starts spell wavy woes. For rubber rolls, add a heavy roller to flatten seams. Budget $50–$100 for basics; it’s cheaper than calling pros to fix flubs.
Essential Tools Breakdown
Tools keep it smooth, like form on squats. A straightedge ensures precise trims, while knee pads save your joints from concrete kisses. I once skipped the roller—big mistake, hello bubbles. Chalk lines guide layouts; they’re magic for straight starts.
Must-Have Adhesives and Extras
Adhesive’s your bond—water-based for easy cleanup, PU for permanence. Tape works for temp setups; glue for forever gyms. Throw in seam sealer for rolls and transition strips for doorways. Pro tip: Test bonds first, or risk a peel-up disaster mid-burpee.
Step-by-Step Installation Guide
Alright, sleeves up—let’s lay this down. I sweated through my first install solo, cursing crooked cuts, but nailing it felt epic. Start small, breathe deep, and remember: It’s forgiving stuff. Aim for a weekend warrior timeline; pros do it in days, but DIY’s about the journey.
Preparing Your Subfloor Like a Pro
Prep’s 80% of success—skip it, and you’re building on sand. Sweep concrete clean, vacuum carpets flat, and level lumps with compound. I patched a garage dip once; ignored it, and my mats wobbled like Jell-O. Check moisture too—damp floors breed moldy regrets. Let everything dry 24 hours; patience here pays dividends.
Acclimating and Measuring Your Space
Rubber’s picky about temps—let it chill in-room 48 hours to dodge shrinks or swells. Measure twice (thrice if you’re me post-coffee), adding 10% buffer for cuts. Sketch a layout; start from the center for symmetry. My tape measure’s my trusty sidekick—lost it once, turned a two-hour job into four.
Laying Out and Cutting the Flooring
Unroll or snap tiles from the room’s heart, working out. For rolls, overlap seams 1/16-inch, trim with a knife along walls. Tiles? Puzzle ’em tight—no gaps for dust bunnies. Humor alert: My first cut? Looked like modern art. Use a straightedge; it’ll save your sanity and edges.
Securing with Tape or Glue
Tape for quickies—double-sided carpet stuff holds like a grudge. Glue? Mix per instructions, spread thin, roll firm. I glued my garage rolls; no shifts since, even after sled drags. Work in sections to beat set times—sticky messes aren’t motivational.
Finishing Touches and Transitions
Roll out bubbles, seal seams, add ramps at doors for smooth rolls (wheelchair-friendly bonus). Vacuum debris, then step back—admire that fresh-floor glow. My wife walked in post-install and said, “Finally, it doesn’t smell like old tires.” Test with light weights; tweaks now beat tears later.
Common Mistakes and How to Dodge Them
We’ve all been there—that one slip-up turning triumph to tantrum. Uneven subs? Bubbles galore. Rushing acclimation? Warped woes. I glued without testing once; peeled right up. Laugh it off, learn fast: Measure meticulously, ventilate well, and over-prep. Your future self (and knees) will high-five you.
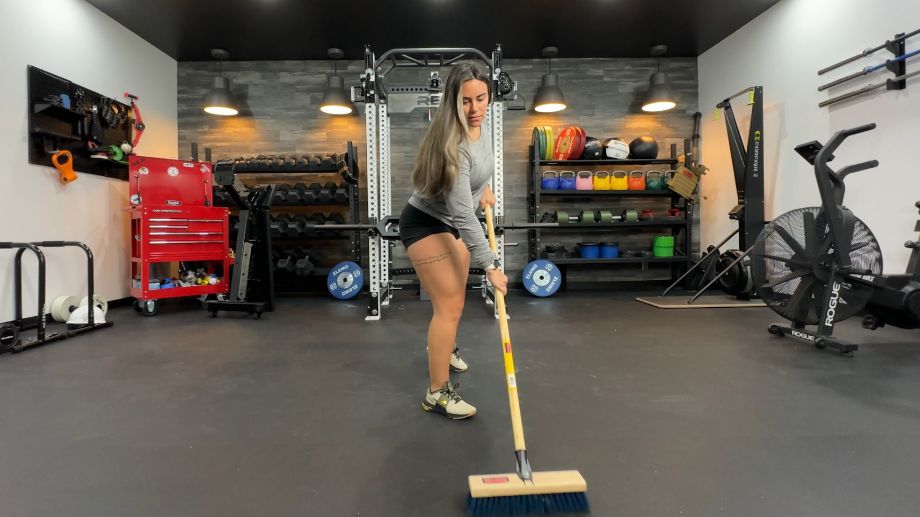
Maintenance Tips to Keep It Fresh
Your floor’s an athlete too—treat it right, it’ll outlast you. Weekly sweeps snag grit; monthly mops with neutral soap banish sweat stains. Avoid harsh chems—they eat rubber like candy. Rotate gear to even wear; I do quarterly shuffles. Spills? Wipe pronto. Done right, it’ll stay springy for years, no drama.
Cost Breakdown: Budgeting for Your Build
Money talks, but smart spends shout. Rubber runs $2–$5 per square foot—$400 for a 10×10 garage pad. Add $50 tools, $100 adhesive; DIY saves $500+ on labor. Pros? $2–$8 extra per foot for peace. Factor overage (10%) and surprises (hello, patches). My total? $600—worth every penny for zero subfloor scars.
Where to Buy Quality Gym Flooring
Hunting deals? Online kings like Flooring Inc. or REP Fitness ship nationwide with samples—game-changer for color picks. Local spots like Home Depot stock basics cheap; Tractor Supply’s stall mats are garage gold. Read reviews; I scored mine via Reddit recs. Pro nav: IRON COMPANY for bulk beasts.
People Also Ask: Real Questions from Fellow Builders
Ever hit a search snag and thought, “Am I the only one?” Nope. Google’s “People Also Ask” spills the tea on common curiosities. Here’s the scoop, straight from the top queries.
Can I Install Gym Flooring Over Carpet?
Short answer: Sometimes, but not ideal. Low-pile works with heavy tiles like 1-inch rubber—they weigh it down sans glue. High-pile? Risky slips; rip it out for stability. I layered foam once—comfy but wobbly. For longevity, bare concrete or wood wins.
How Thick Should Gym Flooring Be for Dropping Weights?
Depends on your drops: 3/8-inch for occasional Olympic lifts, 1/2-inch for iron-plate slams. Thicker (3/4-inch) tames kettlebells but hikes cost. My 1/2-inch setup eats 300-pound cleans like breakfast—joints thank me daily.
Is Rubber Flooring Safe for Home Gyms?
Absolutely, if vented right. It’s non-slip, hypoallergenic, and joint-jolly. Watch off-gassing—air it out 72 hours. No toxins once cured; safer than slick vinyl for sweaty sessions. Kid- and pet-proof too—my dog’s zoomies approve.
How Do I Clean Rubber Gym Mats?
Easy-peasy: Sweep daily, mop weekly with mild soap (no bleach—fades it fast). For stains, baking soda paste works wonders. Vacuum attachments nab chalk dust. I hose mine quarterly; stays blacker than my soul after leg day.
What’s the Best Adhesive for Rubber Rolls?
Water-based acrylic for DIY forgiveness—peels if you goof. Polyurethane for permagrip in humid spots. Apply thin, roll heavy. Test patches; my first glue fail? Comedy gold, sticky tragedy.
FAQ: Your Burning Questions Answered
Got a curveball? These cover the chatter I hear most—from forums to family dinners.
Q: How long does installation take for a 200 sq ft garage?
A: DIY? 4–6 hours spread over days. Pros blitz it in 2. Factor acclimation—don’t rush the rubber.
Q: Will gym flooring reduce noise for upstairs apartments?
A: Big yes—rubber cuts 20–30 dB. Add underlay for extra hush; my basement thuds vanished.
Q: Eco-friendly options without skimping quality?
A: Recycled rubber tiles from Greatmats—tire reborns that perform like virgins.
Q: Can I mix flooring types in one space?
A: Sure—rubber zones for lifts, turf lanes for agility. Transitions smooth the mashup; looks pro, feels custom.
Q: What’s the return policy on big orders?
A: Varies—Flooring Inc. does 30 days unopened. Measure twice; cuts are final, like tattoos.
There you have it—your blueprint to a bombproof base. That garage glow-up? It’s still my daily escape, scratches and all. Yours will be too. Grab the tools, channel that inner DIY dynamo, and build something beastly. What’s your first lift on the new floor? Drop a comment; I’d love to cheer you on. Now go crush it.